
A Practical Guide to Installing Flexible Stone Veneer
Flexible stone veneer is one of the easiest natural-look wall finishes to install — but only if you prepare the surface correctly and follow a consistent sequence. Unlike heavy natural stone, these thin 2–3mm panels can be cut with a utility knife and bonded directly to most flat substrates. This step-by-step guide walks installers through a durable, professional finish on interior feature walls.
1. Prepare the Substrate
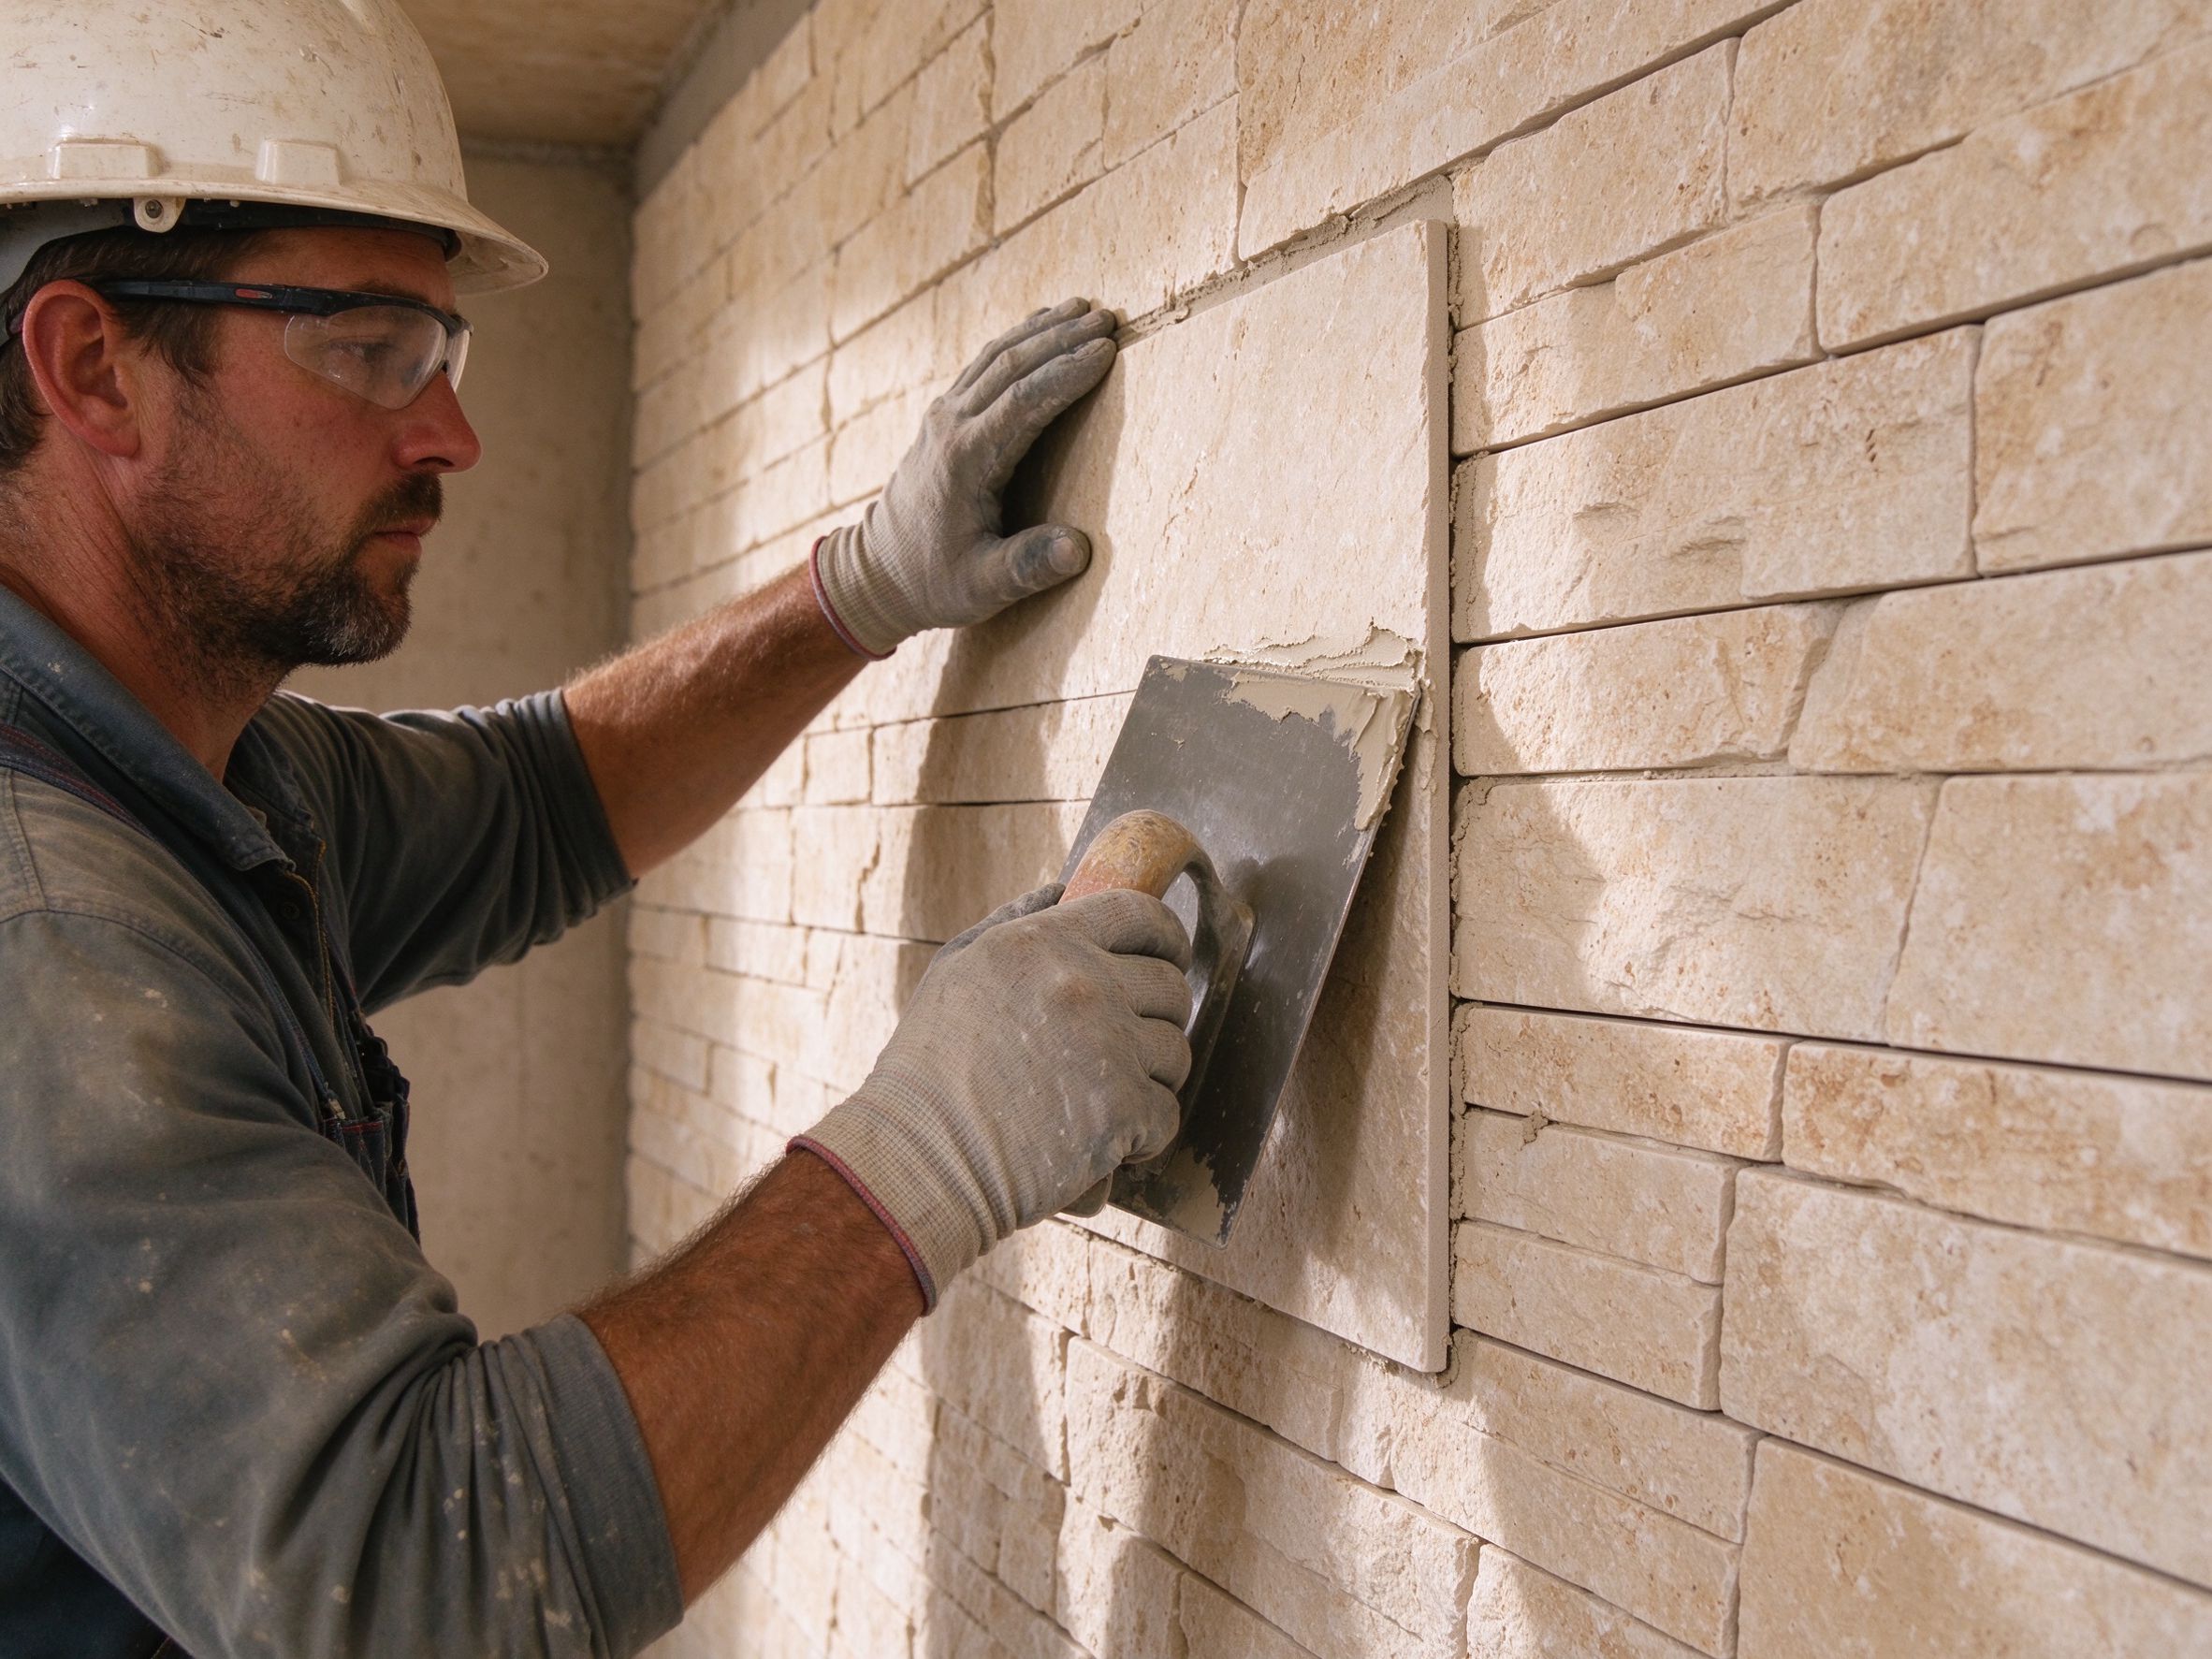
The wall surface must be clean, dry, flat, and free of dust, oil, or loose paint. Painted drywall, cement board, concrete, and tiled surfaces can all accept flexible stone, but glossy tiles should be lightly sanded first. Fill any holes or uneven areas with a suitable filler and let it cure. A level, well-prepared base is the single biggest factor in a clean final result.
2. Plan the Layout
Before applying adhesive, dry-lay the panels on the floor to balance colors, book-match textures, and plan where cuts will fall. Mark a level horizontal guide line at the starting height and a vertical reference line. Keep at least a 5–10mm gap at the floor for skirting boards, and avoid tiny cut pieces at both corners — adjust your layout so end cuts are larger than half a panel.
3. Apply Adhesive and Set the Panels
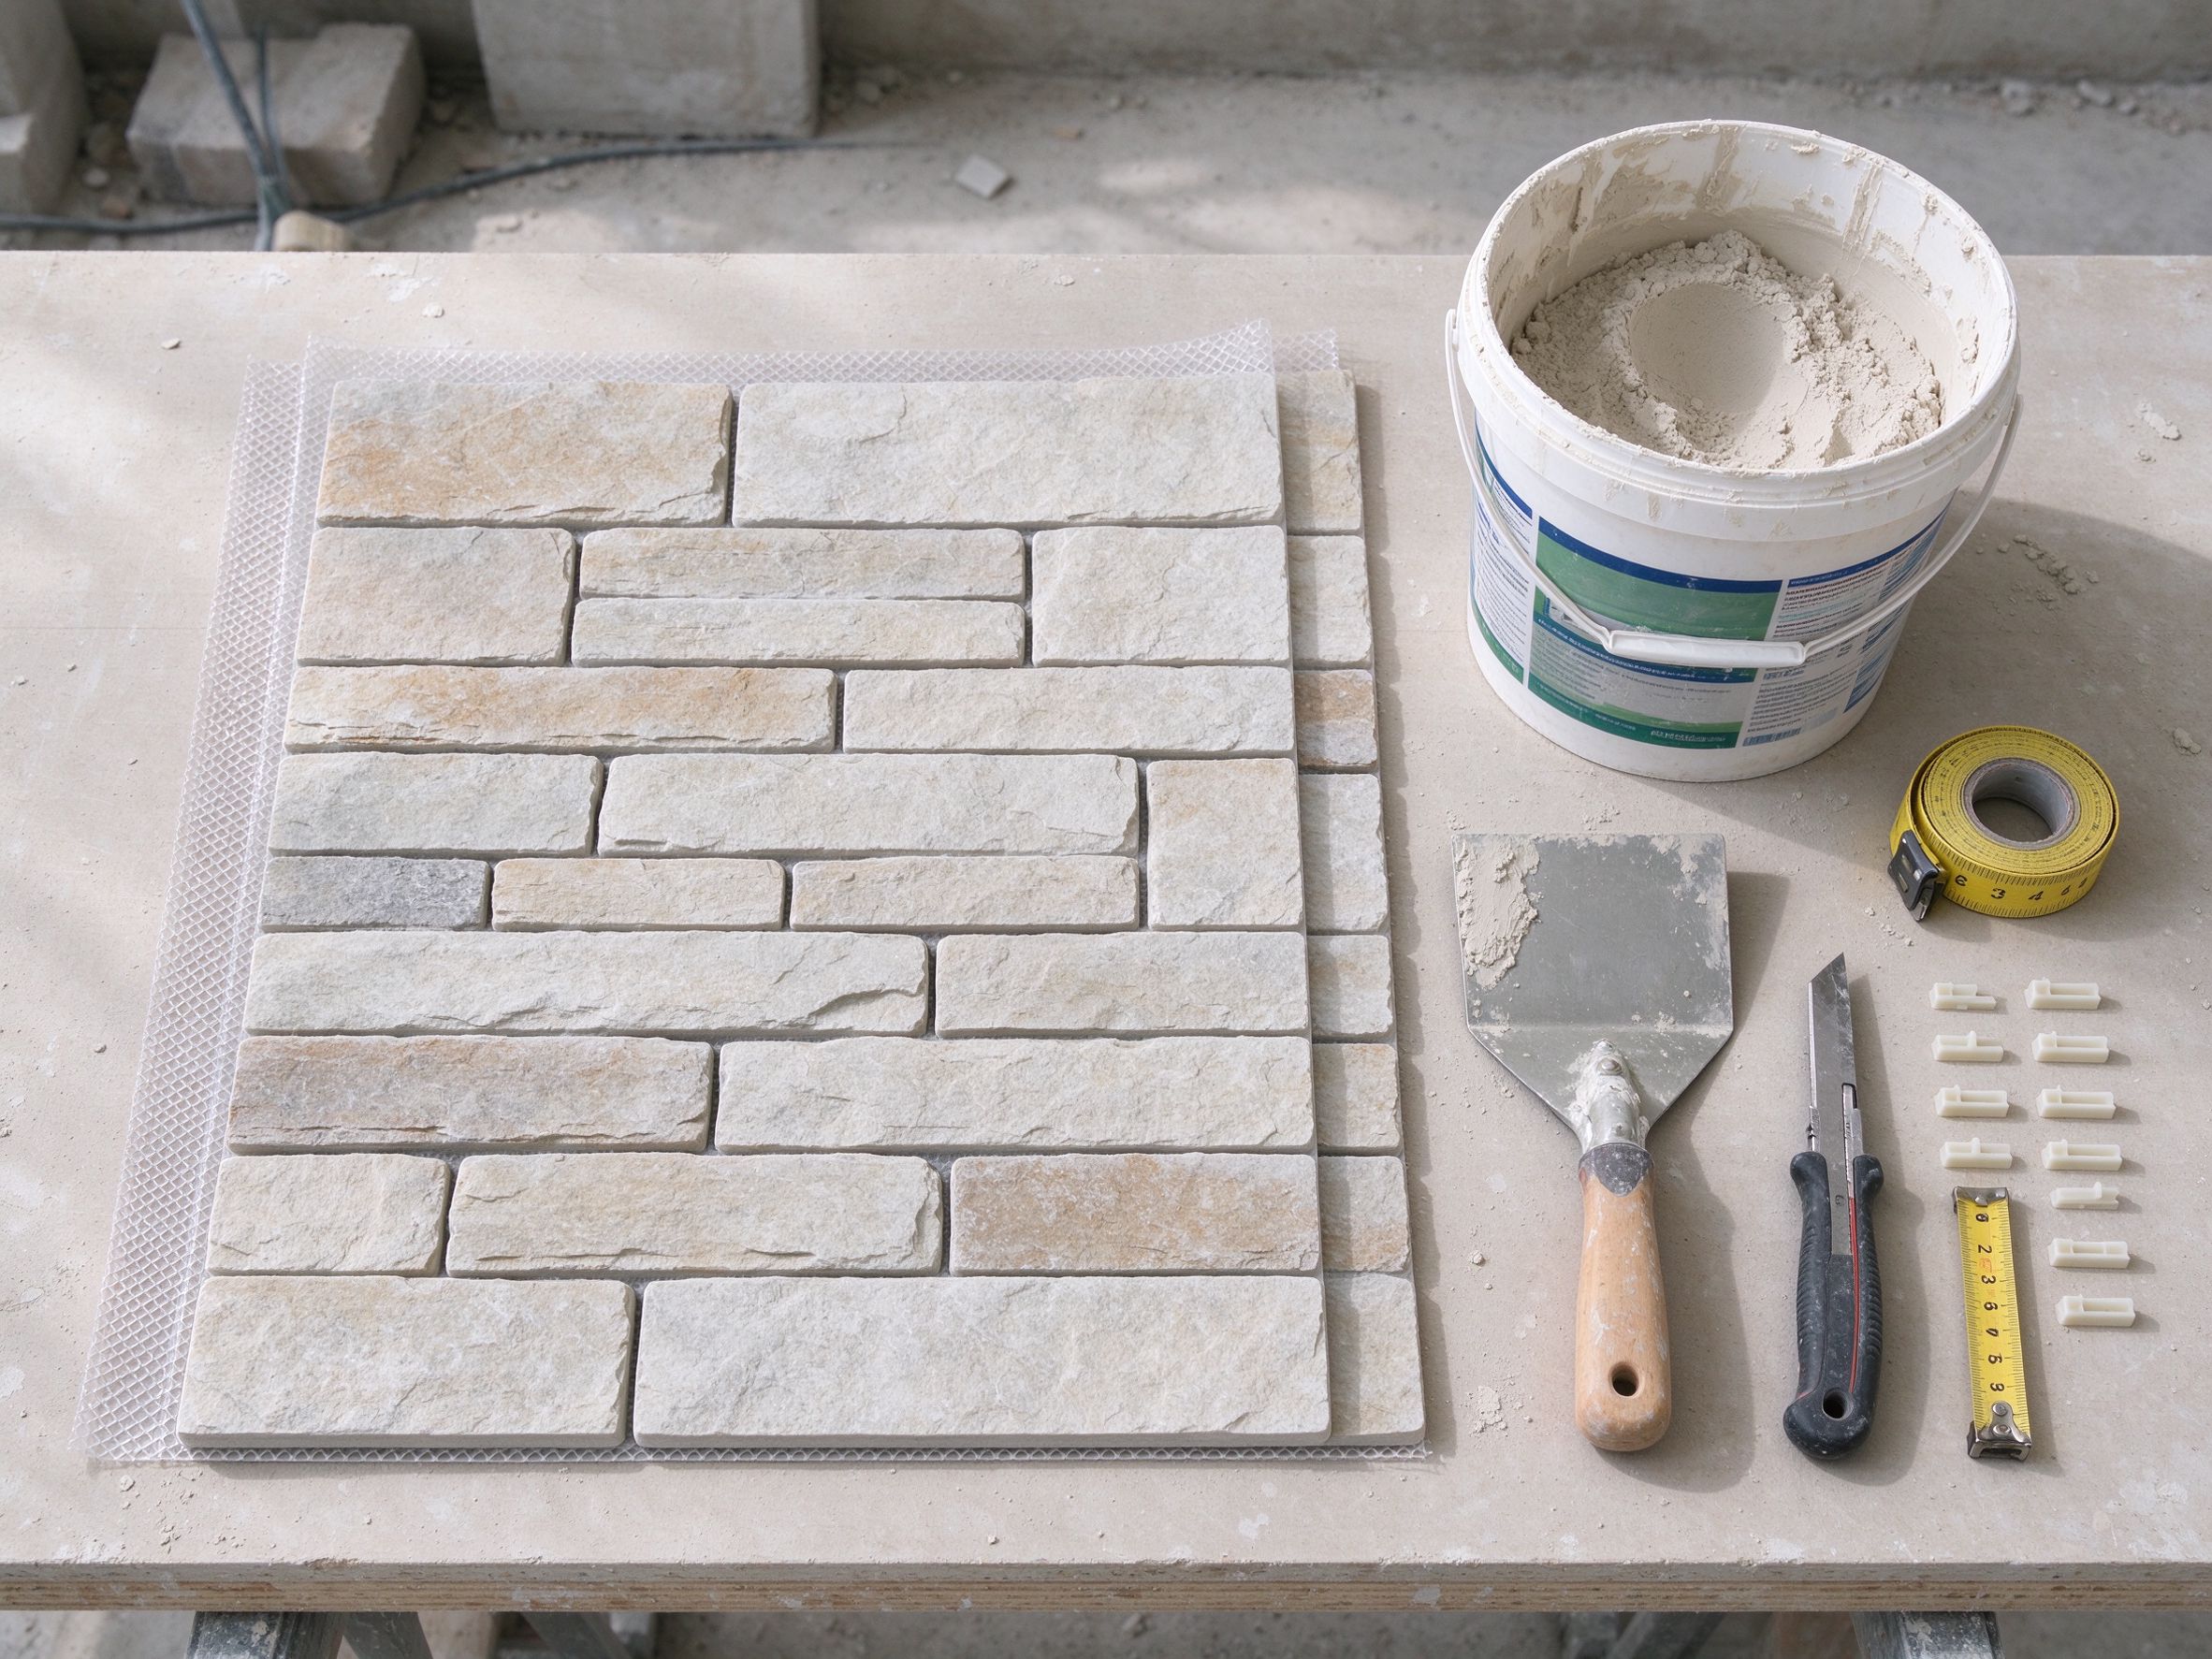
Use a recommended polymer-based tile adhesive or stone veneer adhesive. Apply a thin, even layer to the back of each panel with a notched trowel — about 2–3mm is enough. Press the panel firmly onto the wall starting from the reference line, and use a grout float or your gloved hand to press across the whole surface so it bonds fully. Work in small sections so the adhesive does not skin over before the panel is placed.
4. Cutting and Finishing
Flexible stone can be cut with a sharp utility knife scored along a straight edge — no wet saw needed. For outlets, switches, and inside corners, score the outline and snap gently. Once the adhesive has cured (usually 24–48 hours), joints can be grouted with a matching sanded grout, or left open for a dry-stack look. Wipe off any grout residue from the stone surface before it dries.
Common Mistakes to Avoid
- Skipping substrate preparation: Dust or loose paint causes delamination.
- Using too much adhesive: Excess squeeze-out can stain the stone texture and harden on the surface.
- Not checking batch shade variation: Panels from different production batches may differ slightly — mix them during installation.
- Walking away too early: Keep pressure on each panel for 30–60 seconds to prevent sliding before the adhesive grabs.
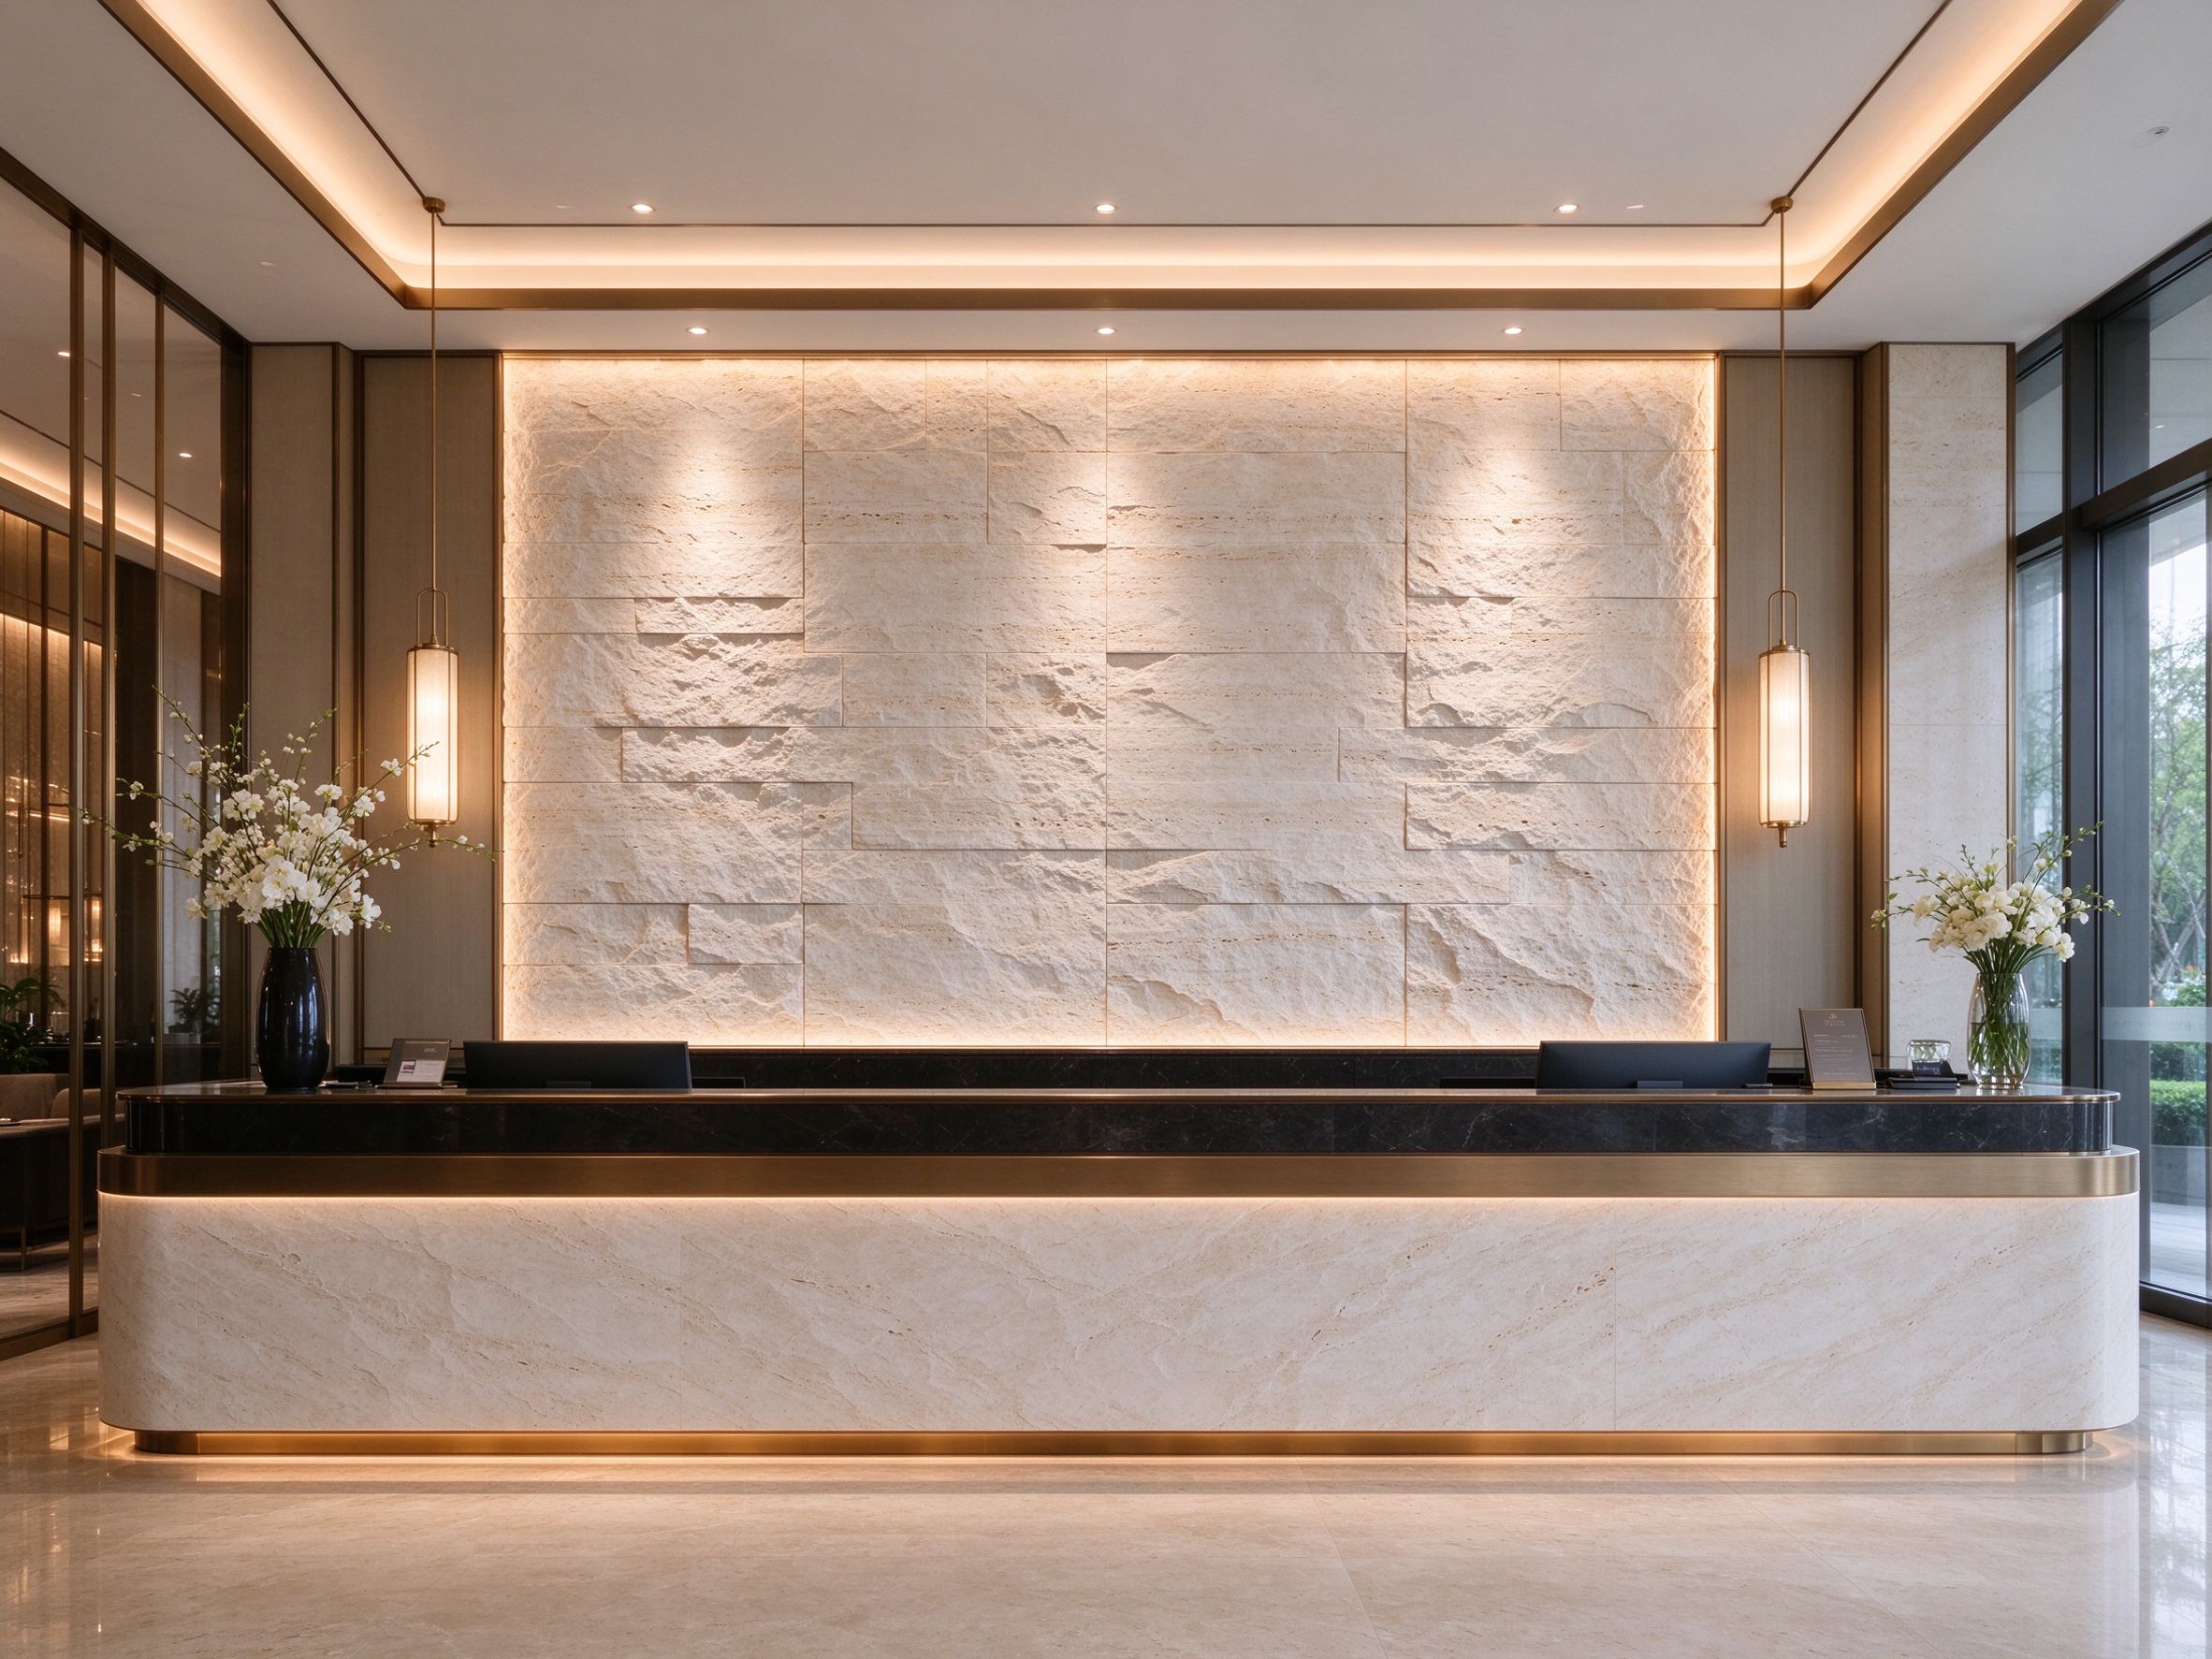
With the right substrate and a methodical sequence, flexible stone installs in a fraction of the time required for natural stone — and delivers the same authentic texture on feature walls, lobbies, columns, and façades. Request samples from STARLEADER to test your adhesive and layout before starting a full project.