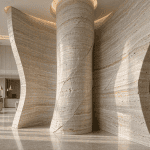

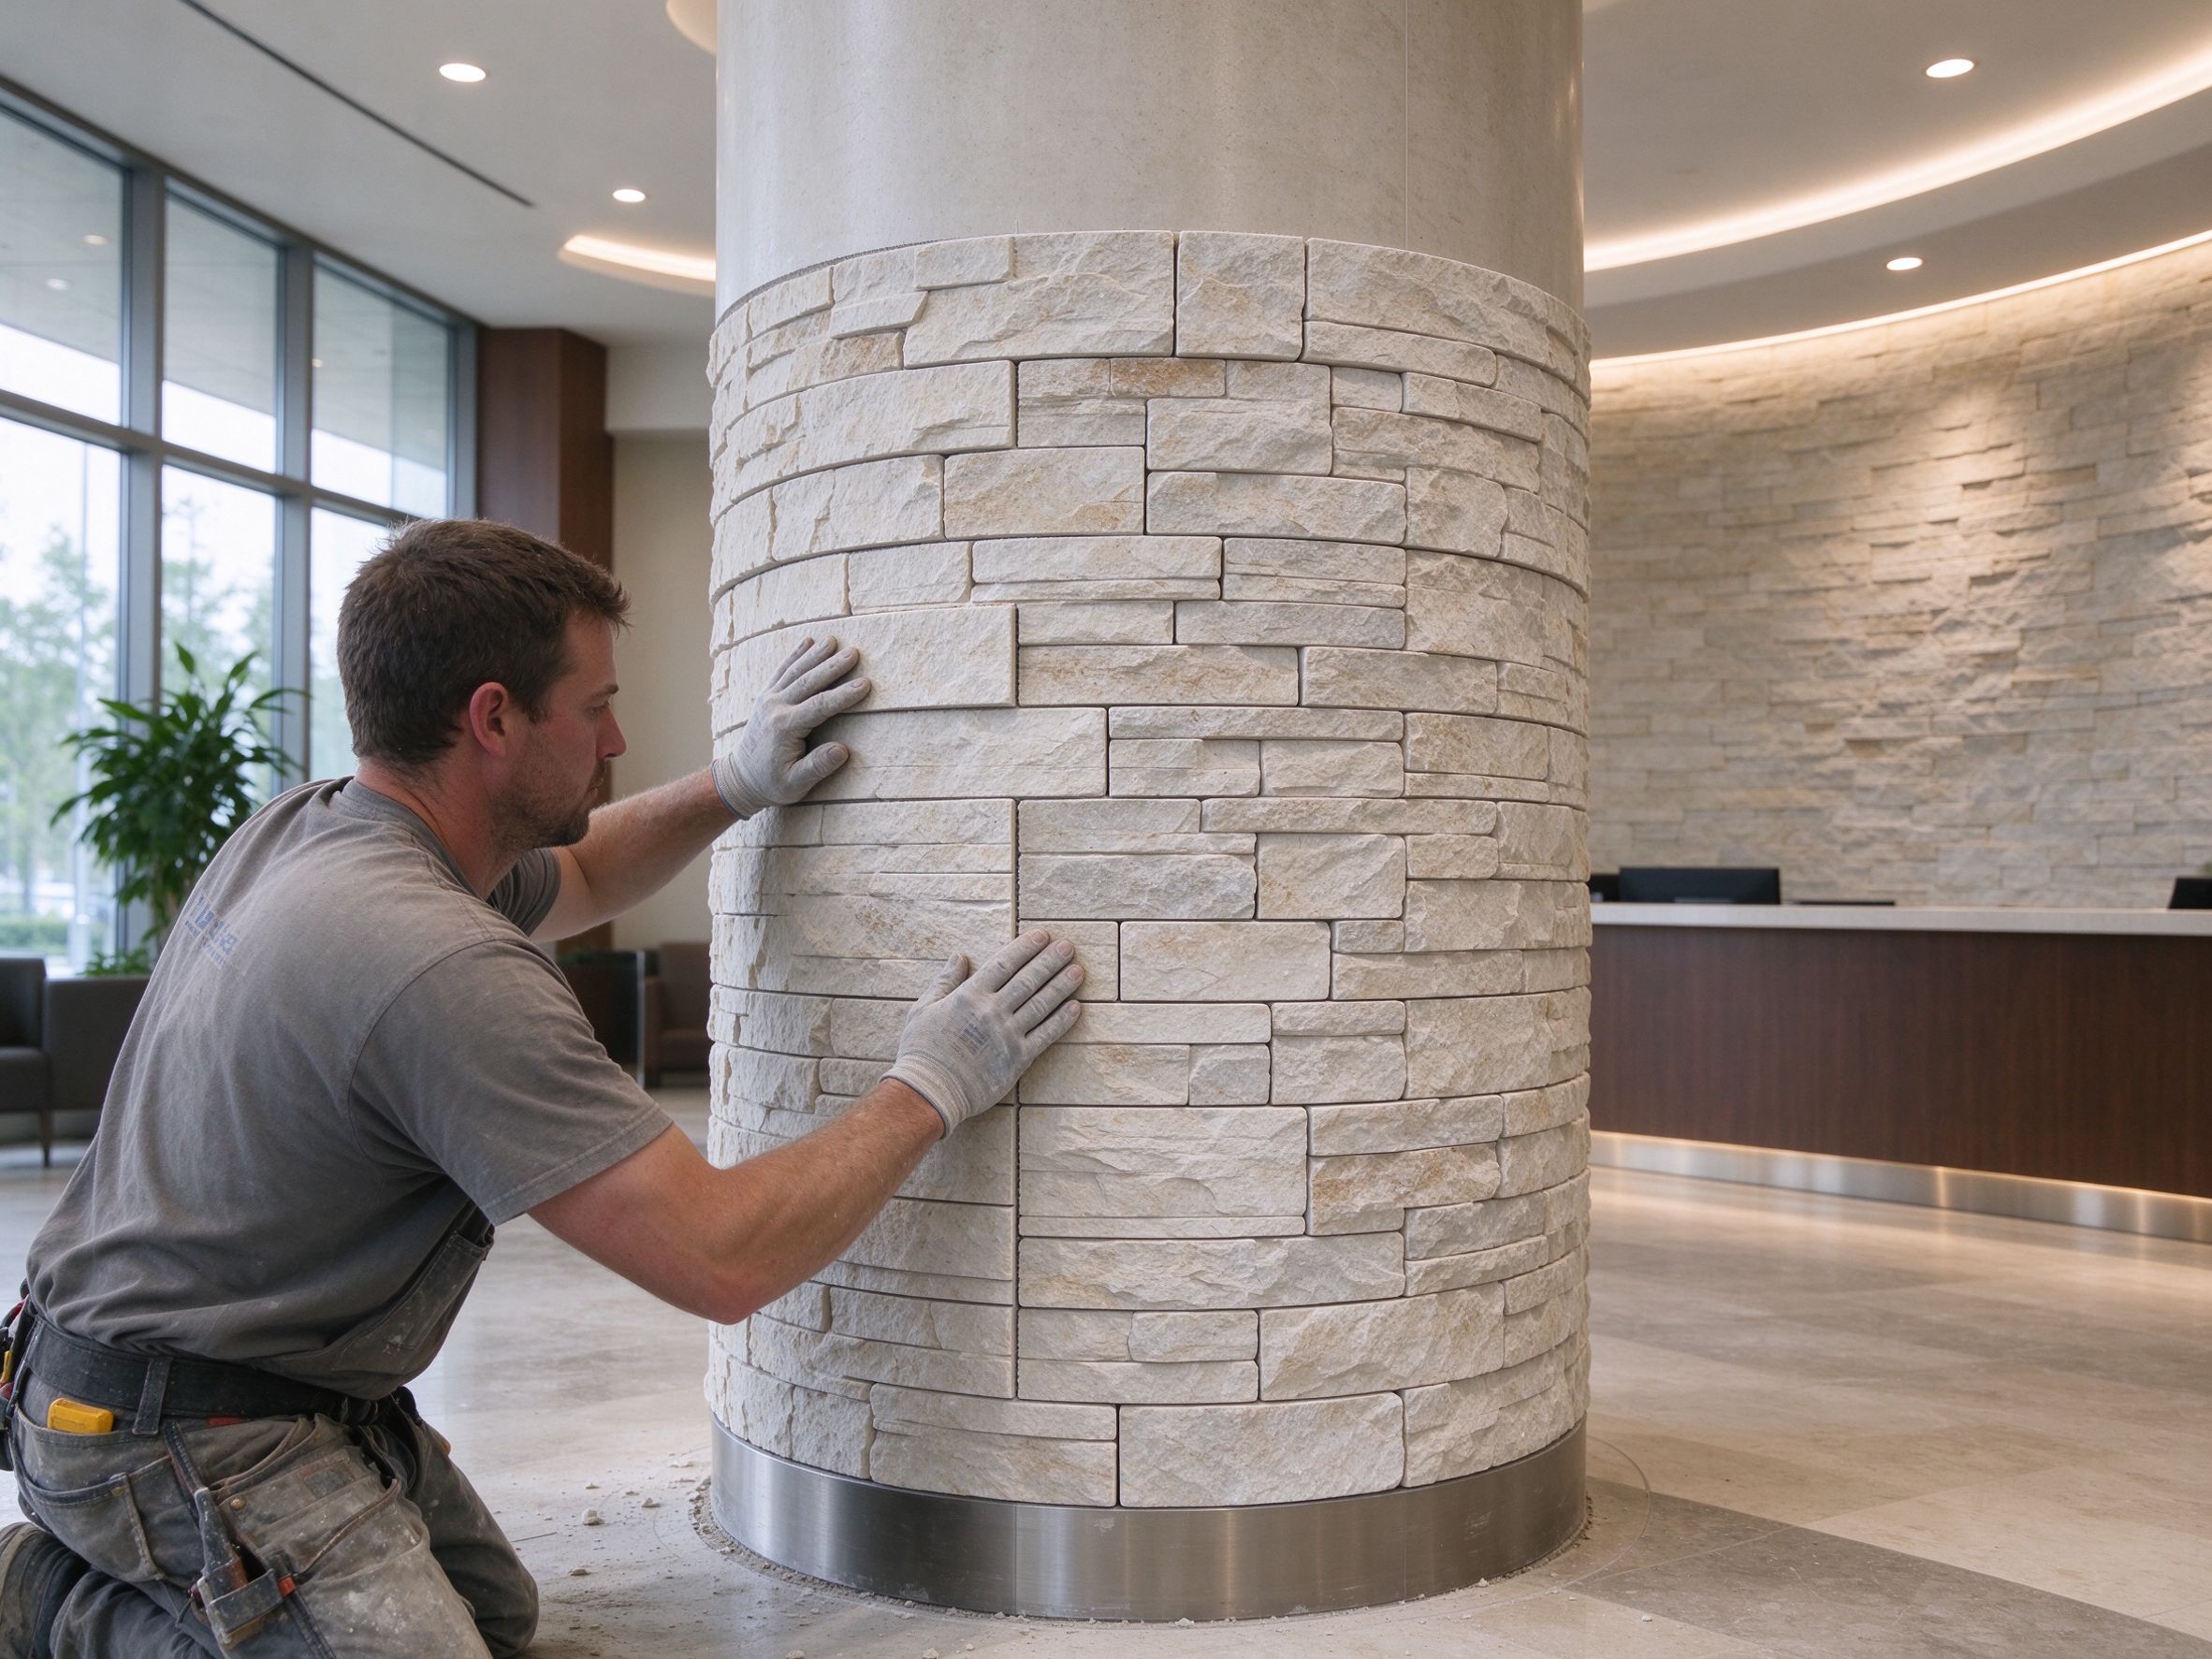
Flexible stone veneer is one of the few wall cladding materials that can wrap smoothly around curved walls, radius columns, and spiral staircases. However, the installation process on curved surfaces differs from flat walls. Here is how professional installers achieve clean, crack-free results.
Why Flexible Stone Works on Curves
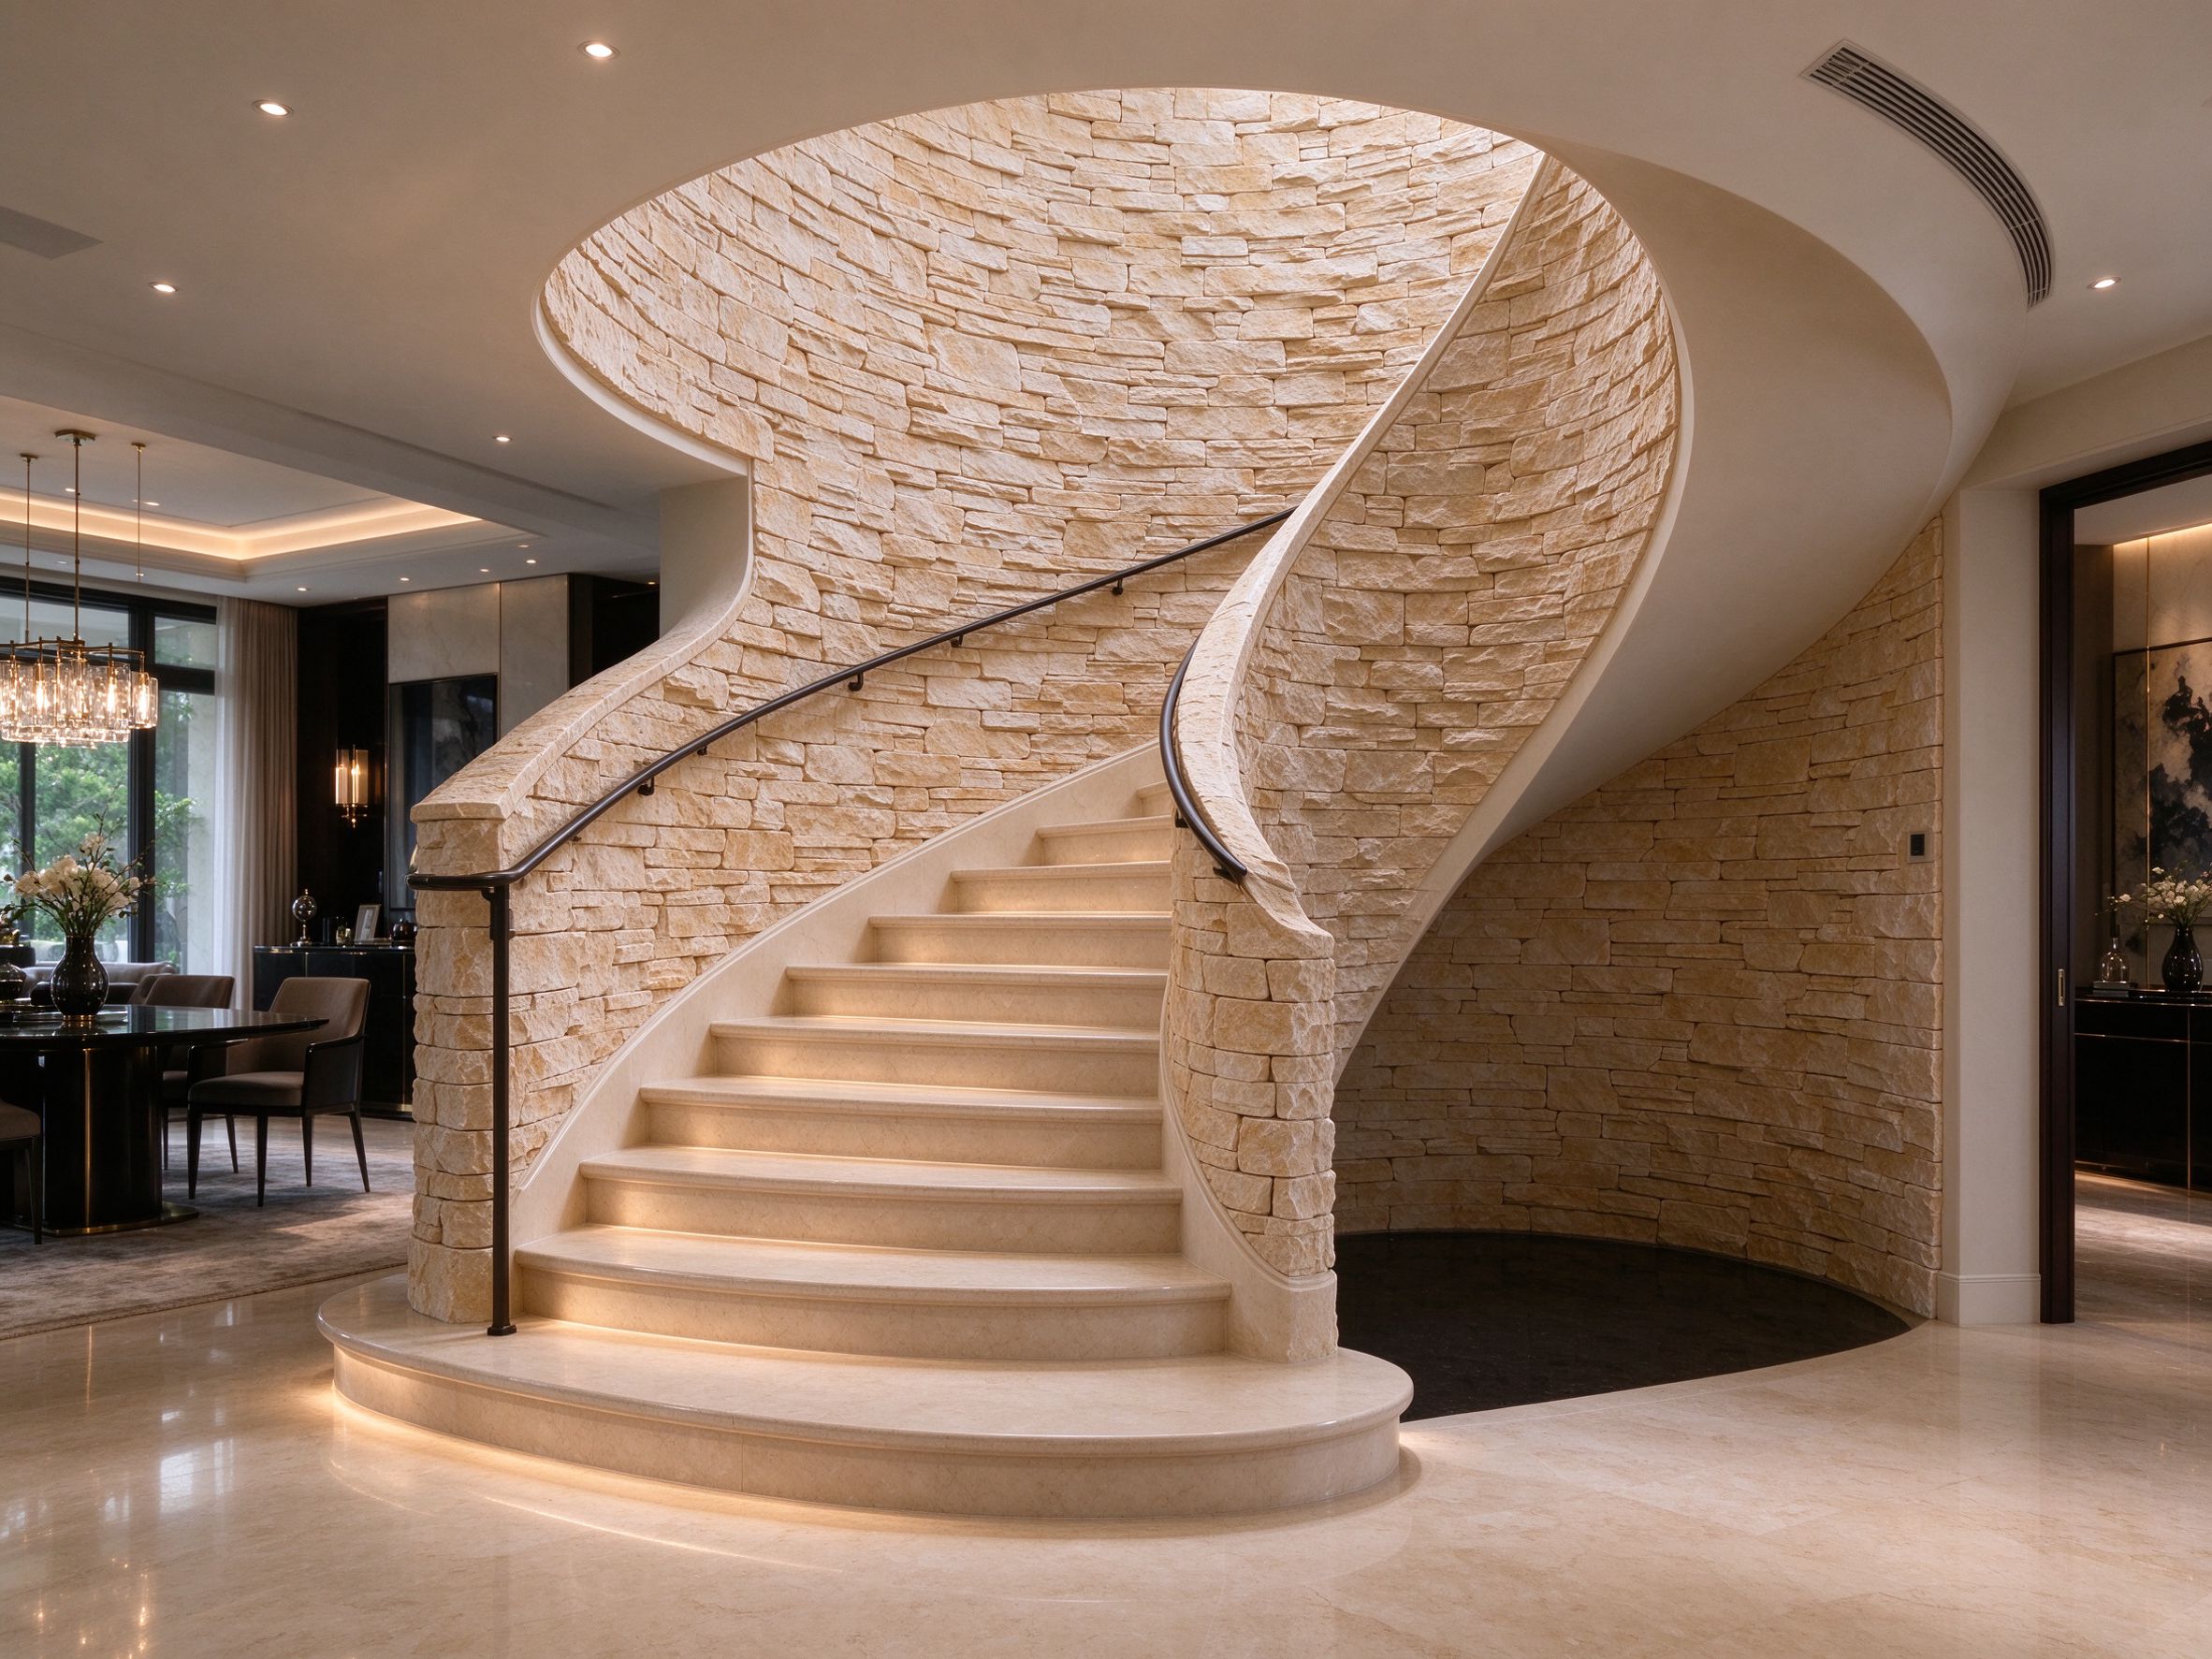
Natural stone tiles must be laid in small pieces and grouted around curves. Flexible stone veneer is only 2–3 mm thick and backed with a flexible polymer mesh, so it can bend around radii as tight as 30 cm without cracking. This makes it ideal for columns, curved feature walls, and spiral staircases that would require dozens of individually cut natural stone pieces.
Step 1: Prepare the Curve Substrate
The substrate must be smooth and rigid. For curved walls, use flexible plywood or cement backer board formed to the radius. Fill any low spots with a lightweight filler and sand smooth. The flexible stone will telegraph every imperfection, so the base must be as smooth as a painted wall.
Step 2: Pre-Bend and Condition
Unroll the panels and let them acclimate in the installation room for at least 24 hours. For tight radii, gently pre-bend the panel around a foam tube or the curved form itself before adhesive application. This reduces spring-back and helps the panel stay in place while the adhesive cures.
Step 3: Apply Adhesive and Press
Use a premium flexible tile adhesive or MS polymer adhesive applied evenly with a 3 mm notched trowel. Press the panel onto the curve from the center outward, working toward the edges. Use a soft rubber roller to eliminate air pockets and ensure full contact. For columns, start the seam at the back (least visible point) and wrap around.
Step 4: Finish Seams and Edges
Flexible stone panels can be cut with a utility knife on the back side. Match seams tightly and use a color-matched stone filler for any gaps. Seal the surface with a penetrating stone sealer if the project is in a wet area or high-traffic public space. Avoid epoxy sealers, which change the natural matte finish.
Common Problems to Avoid
- Forcing the panel: Never stretch the panel to fit a curve — this causes the stone texture to crack. Choose a radius within the manufacturer’s recommended range.
- Too much adhesive: Excess adhesive squeezed out at seams can discolor the surface. Apply only to cover 80% of the back.
- Skipping sealer: Unsealed flexible stone in high-traffic areas will absorb dirt and become hard to clean.